Written by Baylor Meche
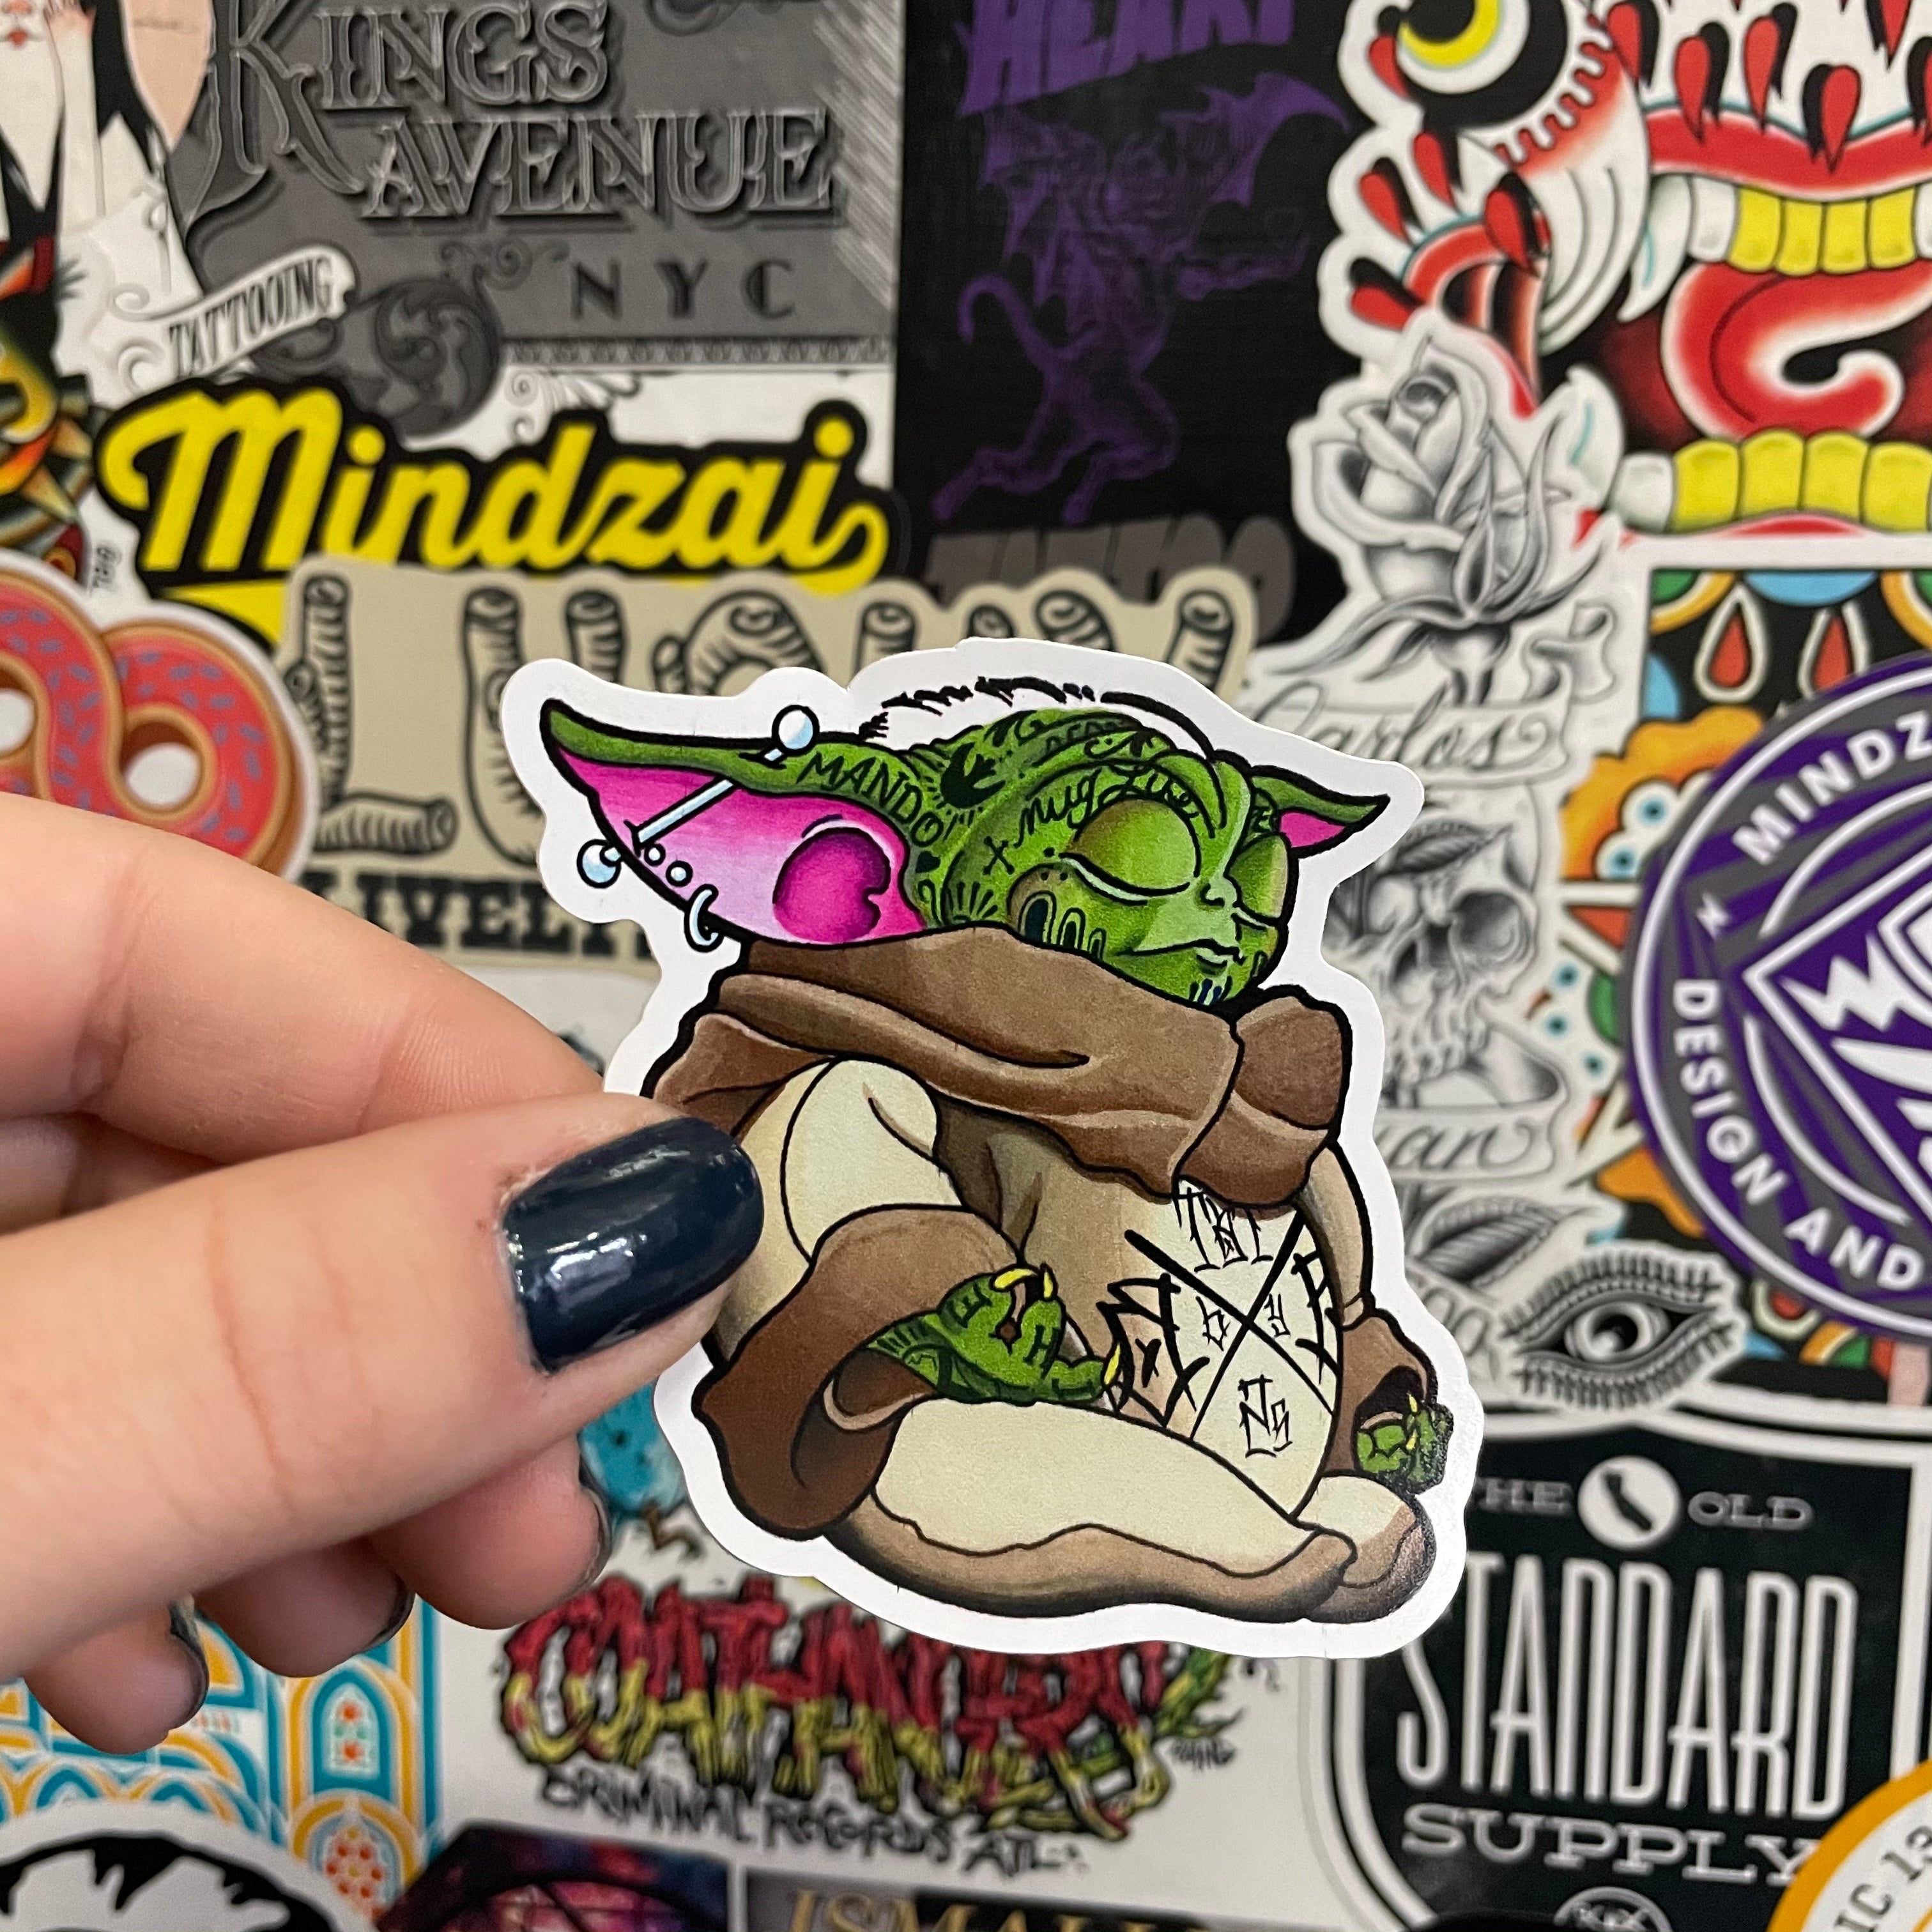
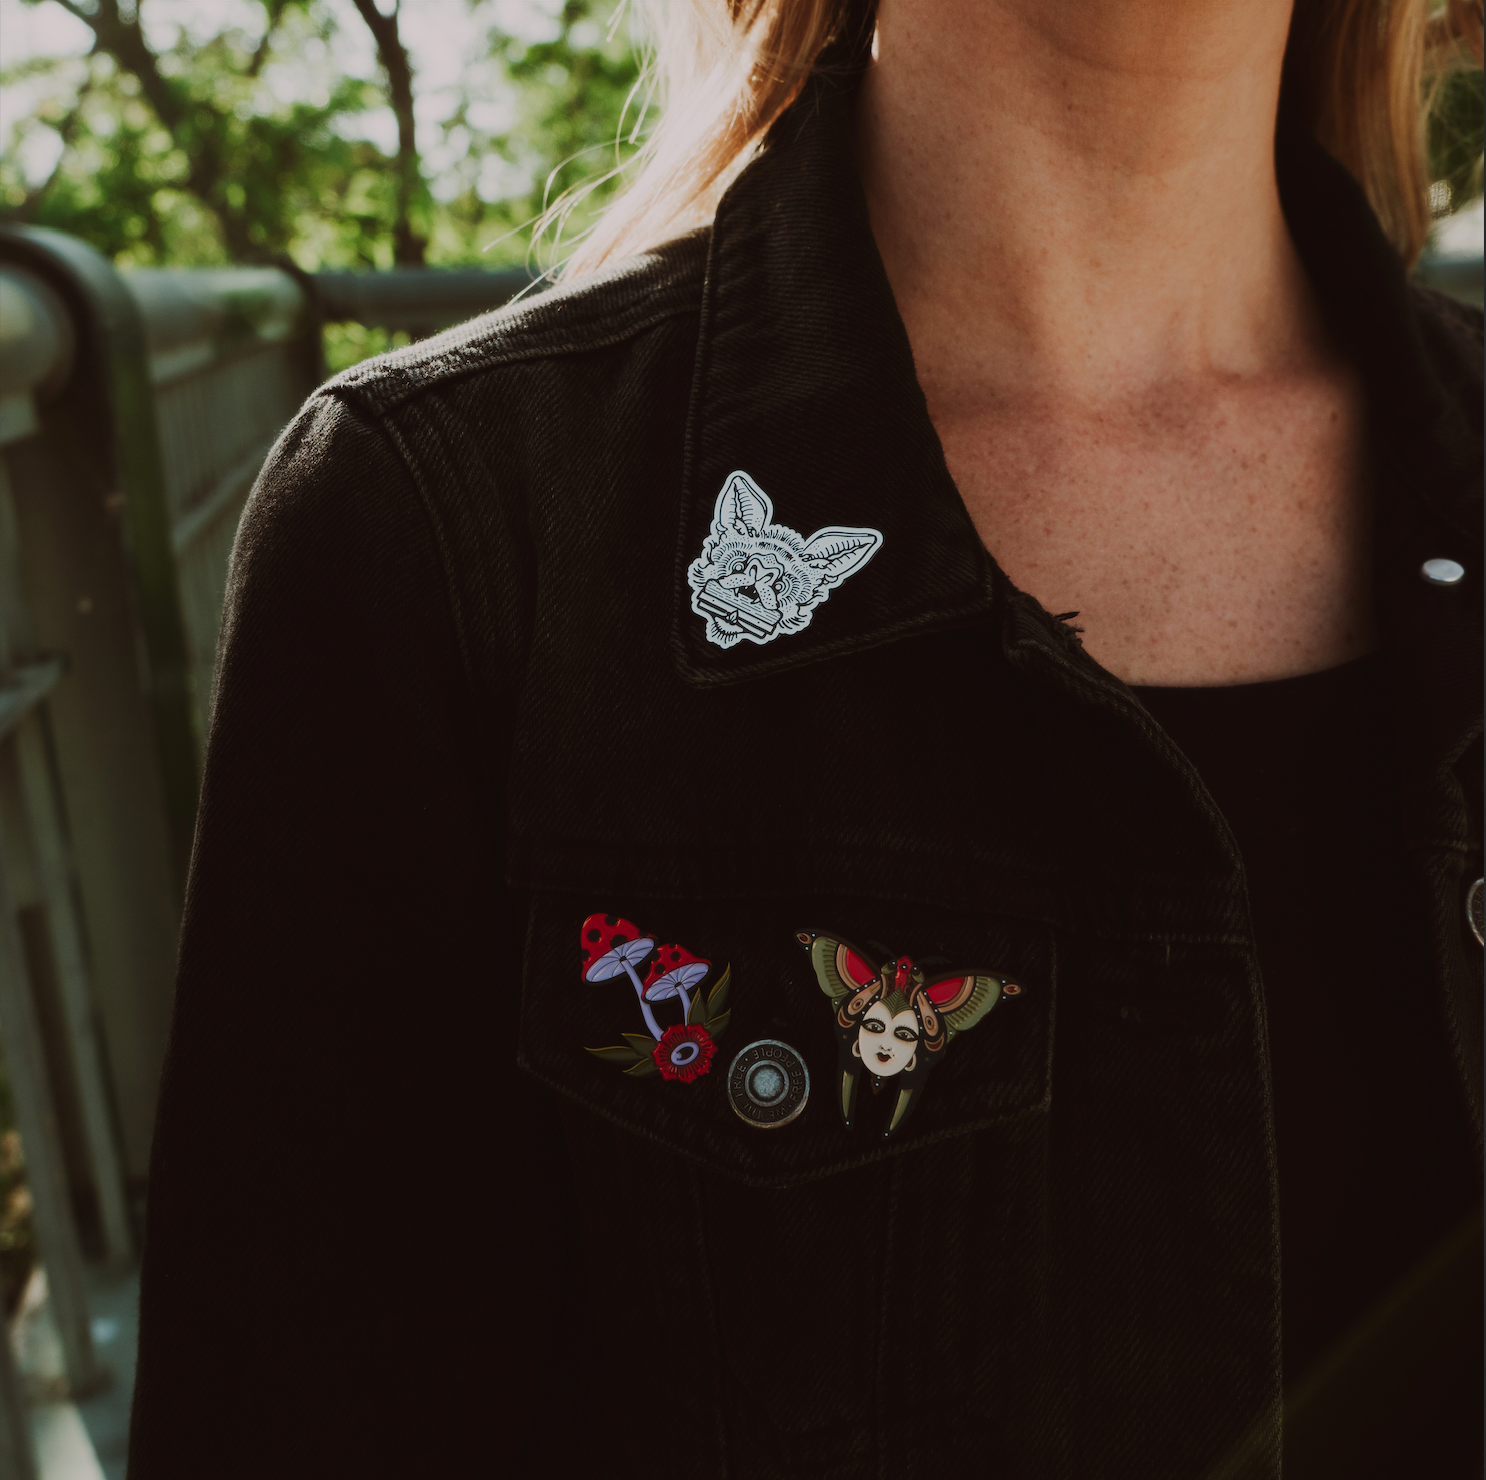
Whether you're an artist looking for new items to spice up your store or a business trying to promote your brand, stickers are a cost-effective way to promote yourself. We pride ourselves in high quality printing services with a wide variety of options. Choose from standard shapes, custom die-cuts, or even dazzling holographics. Let's take a look at the the sticker creation process and what goes into bringing your art to life!
Step 1: Digital Prep
Every process starts somewhere. Your first step to creating an impactful sticker is of course the design. First, we'll need a high quality digital file of your art or logo. We encourage you submit a pdf or tiff file. However, since stickers are relatively small a png or jpeg will suffice if they're saved as a minimum of 300dpi.
Next, we use Adobe Illustrator to create a "die line" in the general shape of your art. This will serve as the map for cutting. Once the die line is created, we duplicate the image into a print ready file.

Step 2: Printing!

After the inks have dried, it's time for cutting. Here's where the aforementioned die line comes into play. Die-Cut stickers get their name from the die used to create an identical cut into the sticker sheet numerous times. The plotter we use is a Summa S2 T75. The blade is calibrated to match the die line leaving you with a set of satisfyingly even stickers ready to be punched out.
Step 3: The Finishing Touches
Before we get to punching, there's an option to get your stickers UV coated. It's by no means necessary but highly recommended as it increases the durability of the stickers and makes your colors pop! All stickers no matter how they are printed will chip, scratch, or fade over time. UV gloss helps the longevity of your stickers by diminishing these weathering effects.

Step 4: Enjoy Your Stickers!
Finally, we perform a quality check to ensure your stickers were printed correctly, packaged safely, and ready for shipping. Stickers are truly versatile in their usage. You can add them to an online shop as an accessory, include them as a free gift with your art prints, or hand them out as shameless self-promotions for your business. Stickers give you the opportunity to put your design in front of a wide audience.
So get out there and promote yourself with custom die-cut stickers! Start your order here.


